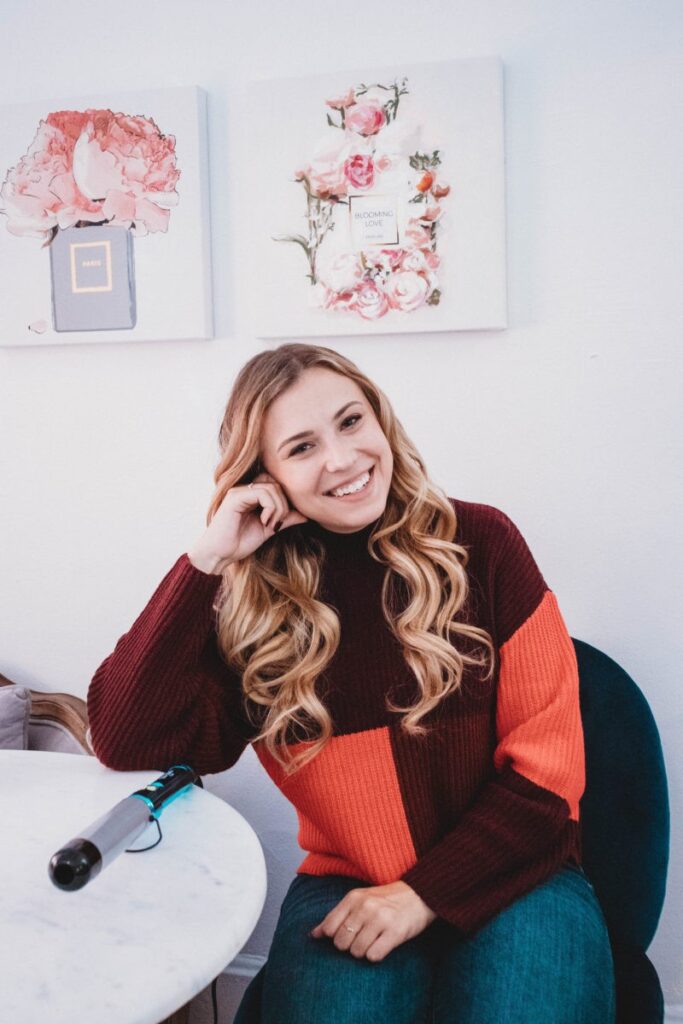
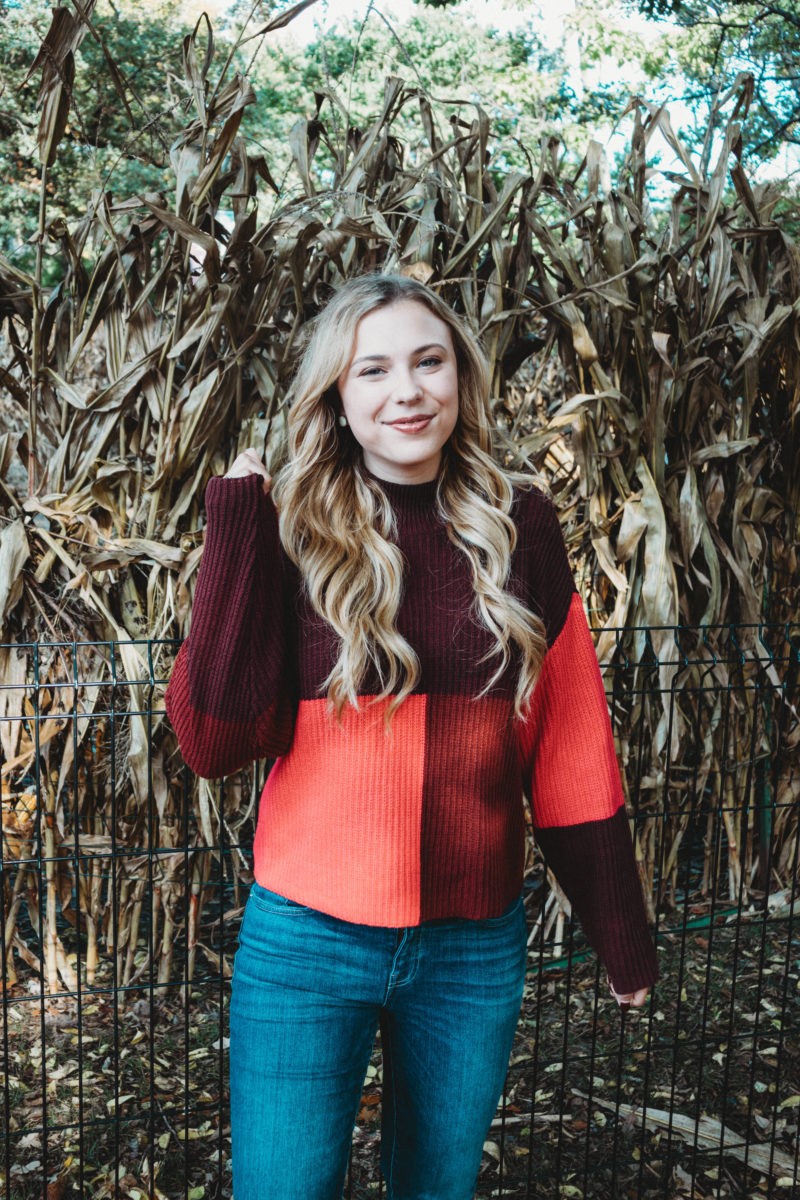
Bold Fall Curls with Bed Head
This post is sponsored by Bed Head Styling and Her Campus Media. As always, all opinions are my own. Thank you for supporting the brands that make Sophisticaition possible!
I just love this time of year – school is back in session, football games are on TV, the air gets crisp and I can FINALLY wear the fall clothes I have been buying since July 😉
Perhaps an underrated part of why I love fall is that the HUMIDITY IS GONE. I can style my hair and not worry it is going to frizz up and fall flat! Thank you, fall weather!!
I am excited to show you a fall hair tutorial featuring the Bed Head Curlipops™ 1 ½” Jumbo Pop Styling Iron!
Some background on Bed Head Styling – I remember finding a wand that worked better than any before laying on the counter of my sorority house bathroom. “Go ahead and use my wand if you want, it’s purple and it’s plugged in,” my friend had yelled from the shower. I turned it on and my college glam instantly went up a notch. It held my curls all night long.. even in the humidity of fraternity parties. It was a Bed Head wand! Ever since then, I have been using various Bed Head products as my beauty needs change. I was excited when they reached out to me to work together on a music festival hair styling post and on this one, because I got to try two new products!
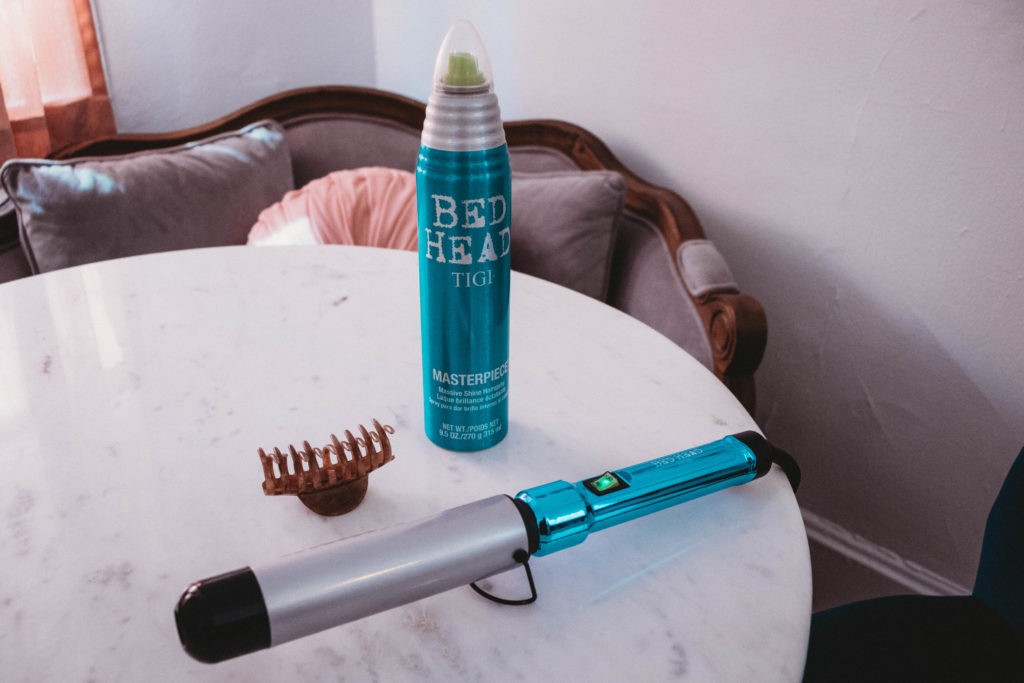
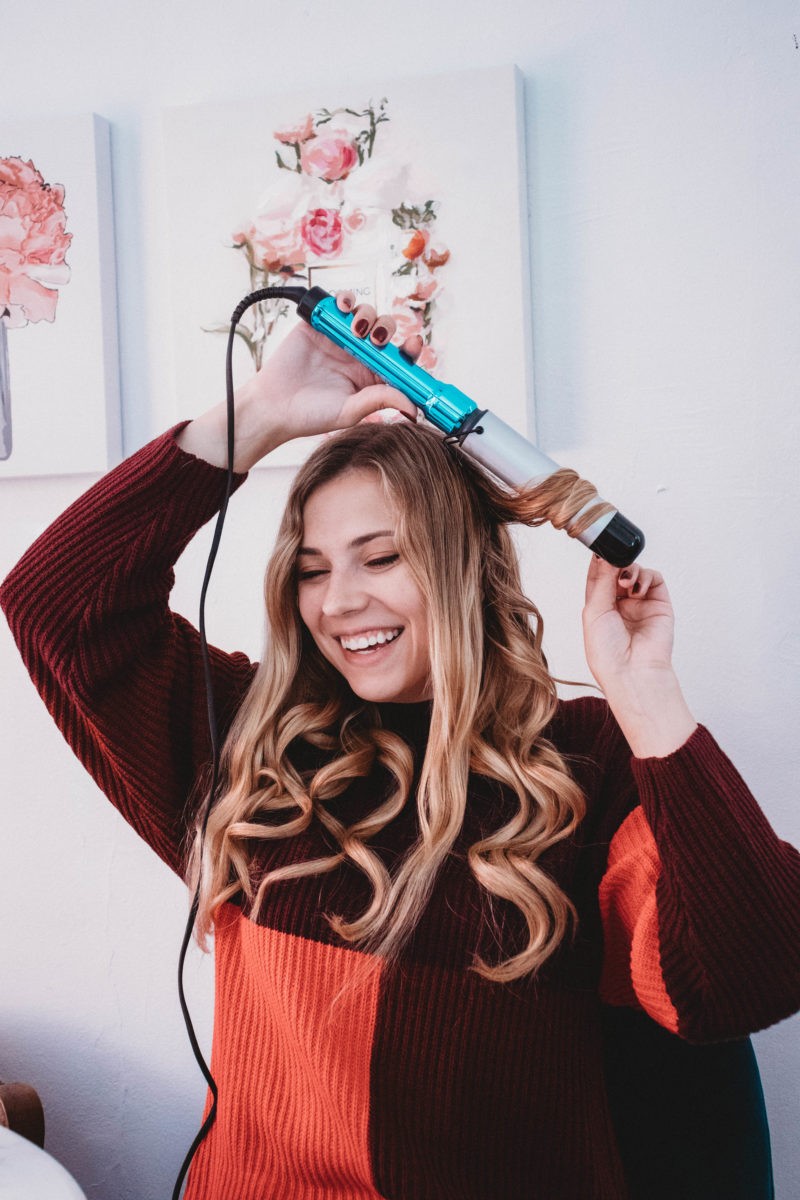
The Bed Head Curlipops™ 1 ½” Jumbo Pop Styling Iron is the biggest wand I have ever tried out – but it produces big and bold curls that look straight off the runway. It has a Tourmaline Ceramic barrel but doesn’t have a clamp, which means you won’t get that weird clamp line in your curl, and that you can control how tight or loose you want your curls to be.
Let’s jump right in!
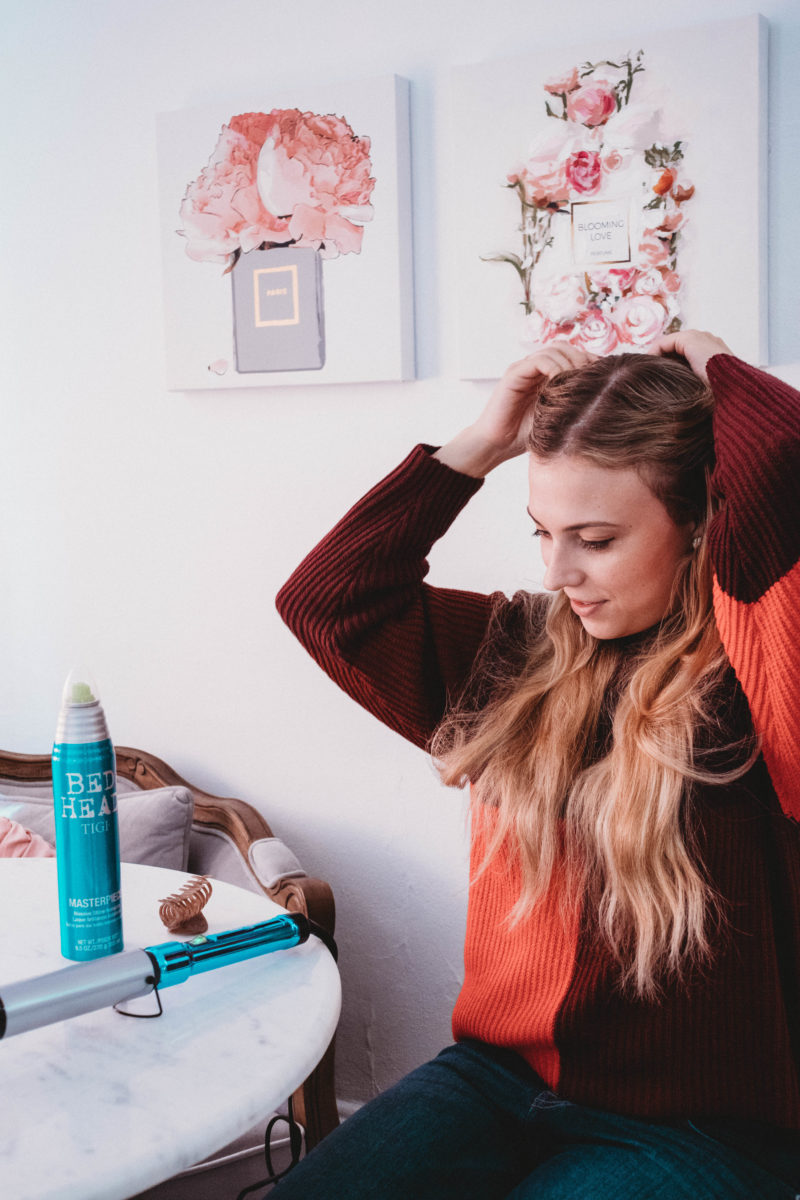
First off, I sprayed my hair with head protectant and sectioned off the upper layer of my hair. I recommend sectioning your hair to make curling it more manageable. I used a big clip which works pretty well, but I have friends who just use hair ties!
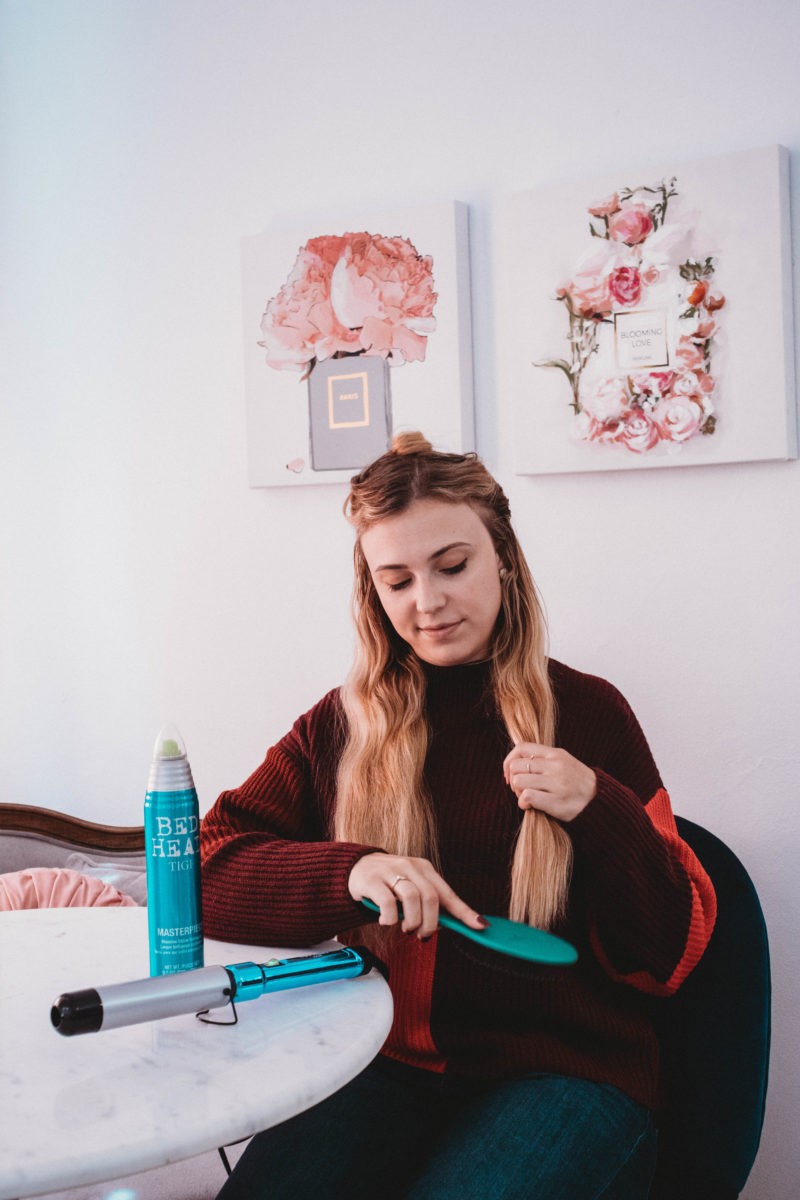
I then brushed out the bottom section of hair to prepare it for curling. If you have any knots in the hair you are curling, it can produce uneven curls! This step takes less than a minute but is oh-so important to the final outcome.
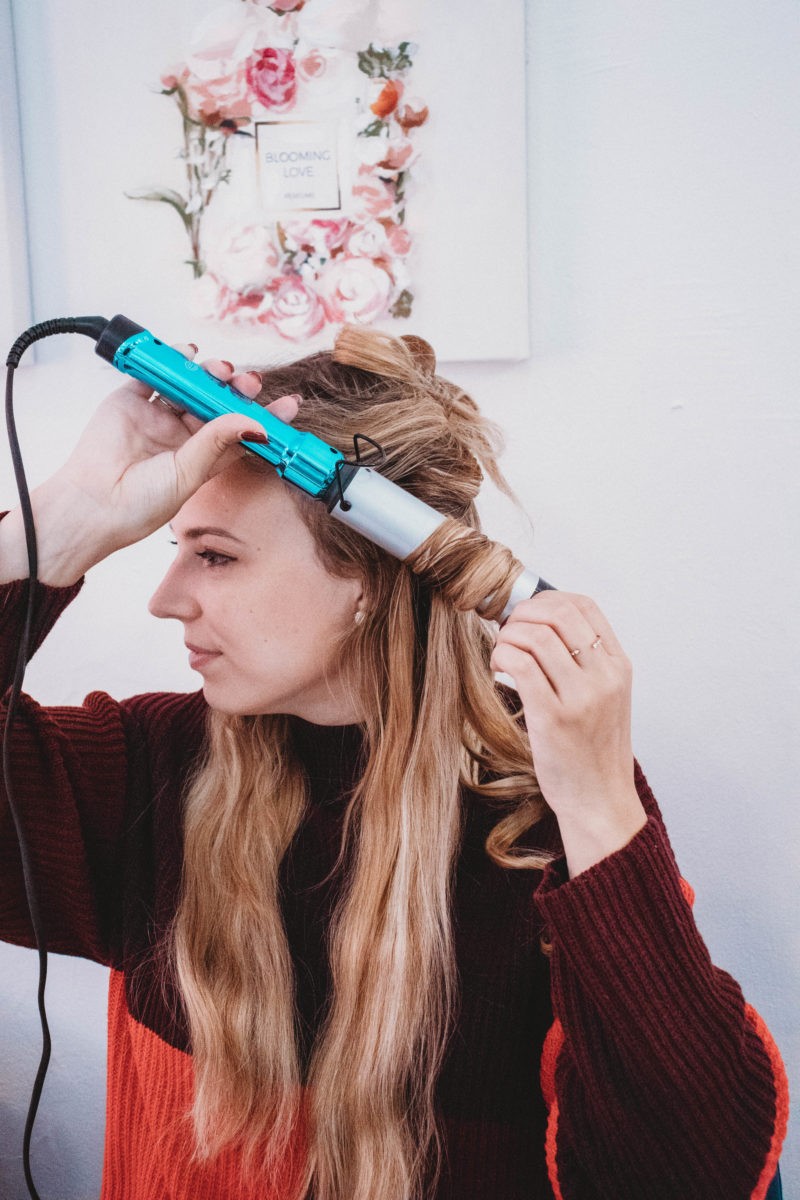
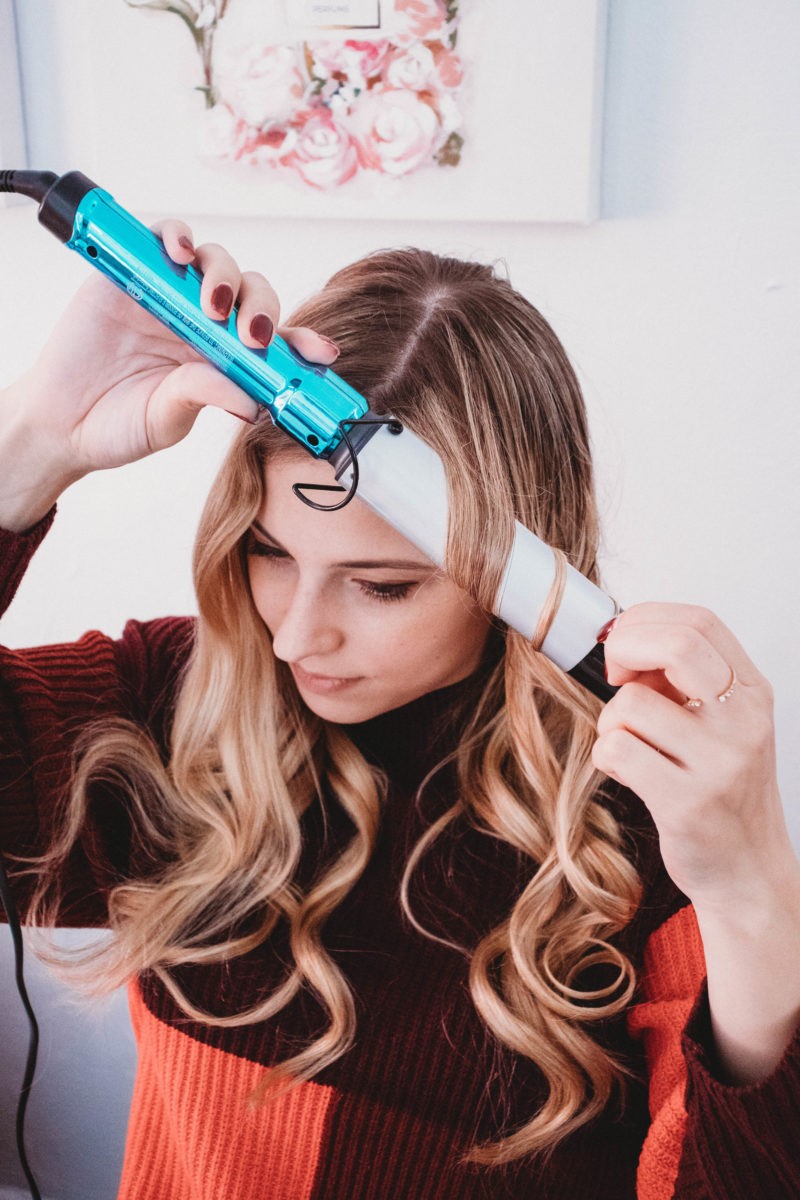
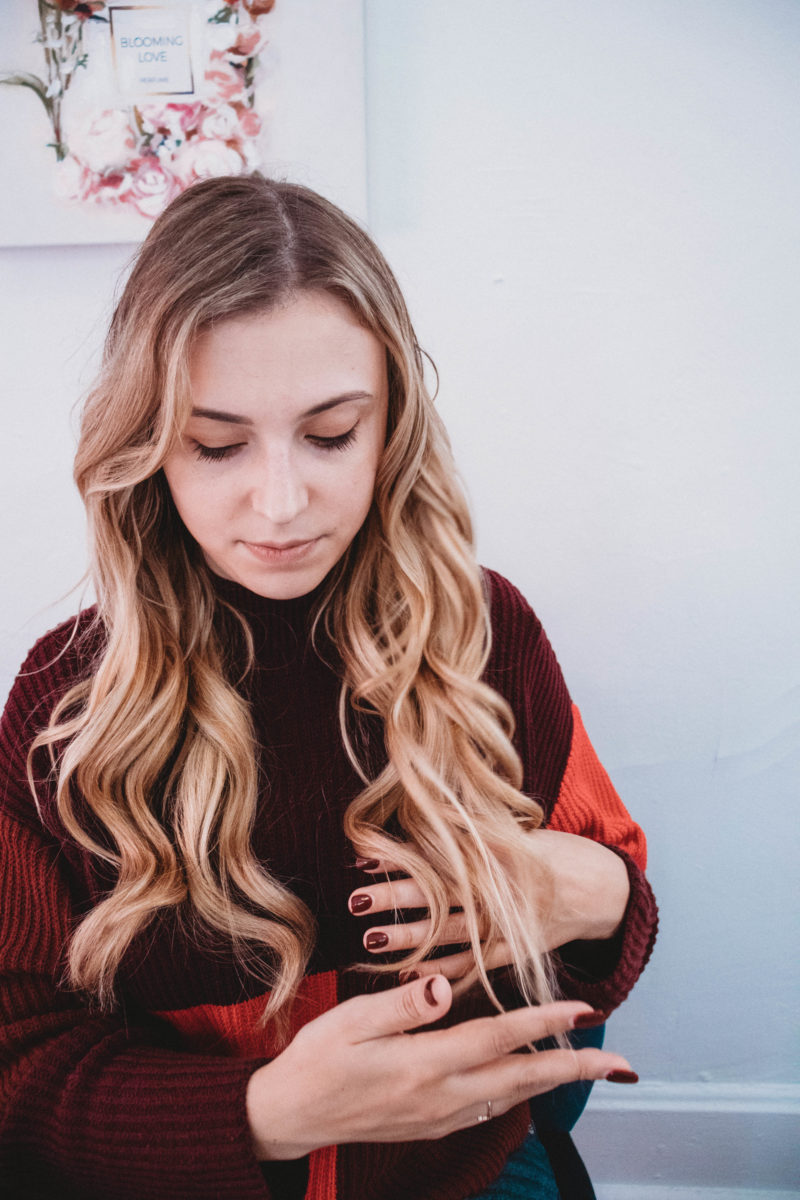
I then began using the Curlipops Jumbo Pop Styling Iron on one side of the head at a time. I selected a 1-2 inch section of hair, and curled AWAY from the face. This allows your hair to frame your face without covering it. For looser curls, you can space out the hair on the iron, but for tighter curls, wrap it like I did! I also held the iron at around a 45 degree angle instead of directly vertical to give my curls more volume.

After curling a piece, I recommend cupping it in your hand and “holding” the curl for about 20-30 seconds. This helps the hair hold the curl longer! I learned this trick about a year ago, and I will forever sing its praises!!
Once I completed all the hair on one side, I moved to the other and curled the opposite direction, away from the face!
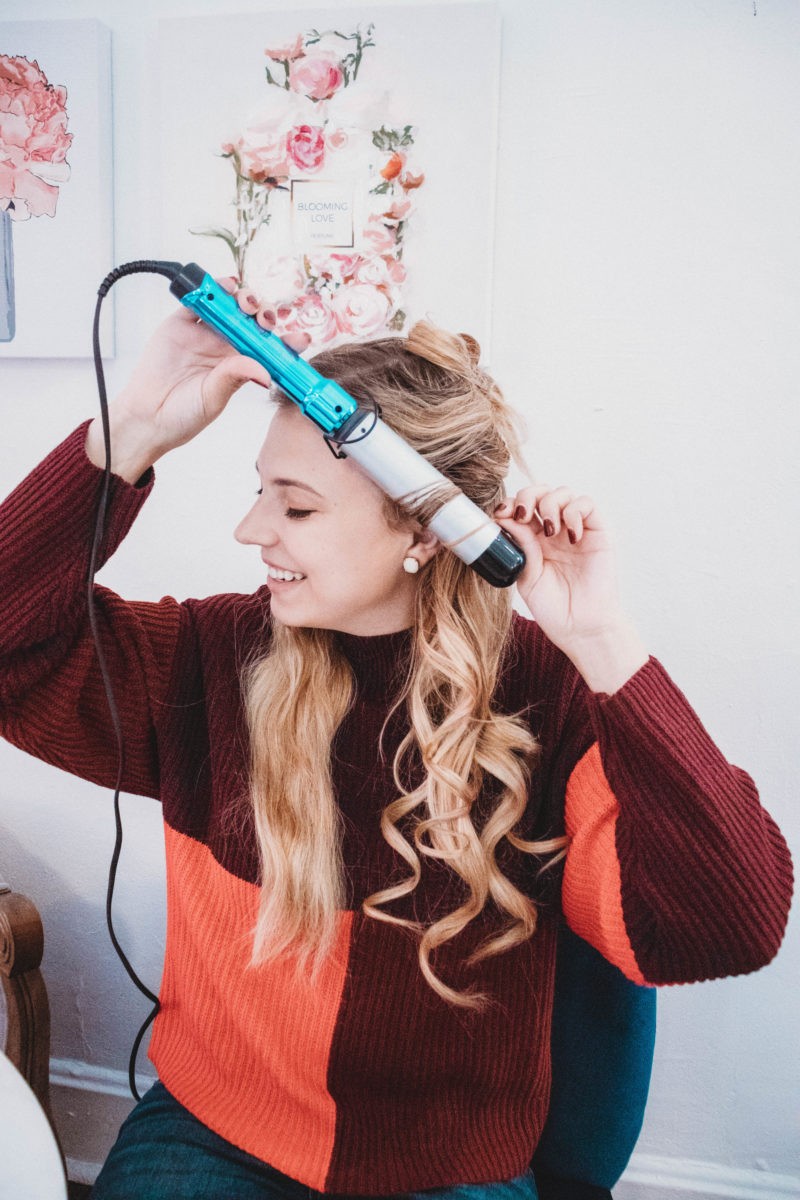
Pretty soon after, I finished the bottom layer of hair, and was able to release the top and begin curling away from the face. I typically use smaller sections of hair when I curl the top layer!
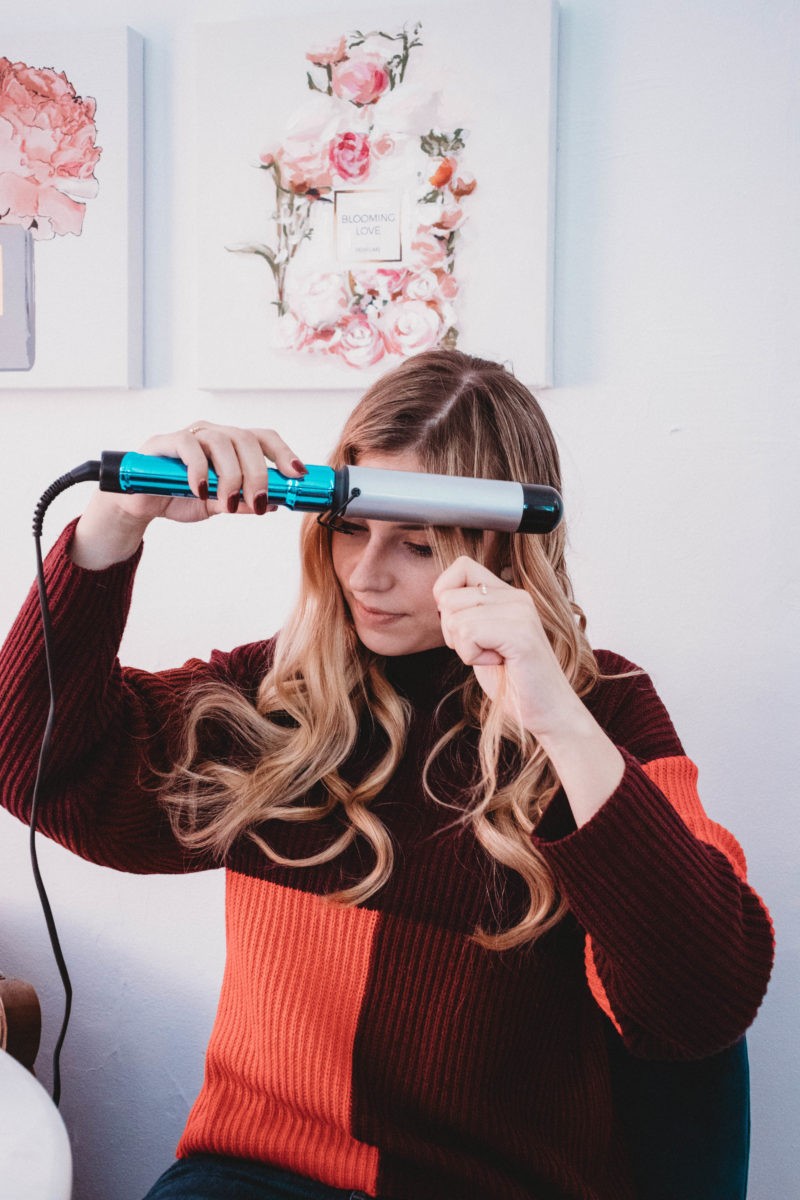
When I reached my bangs, I used the Curlipops Jumbo Pop Styling Iron to straighten the top part where there was a bit of an odd wave before curling.
After my hair was fully curled, I sprayed it out with hairspray to help it hold longer.
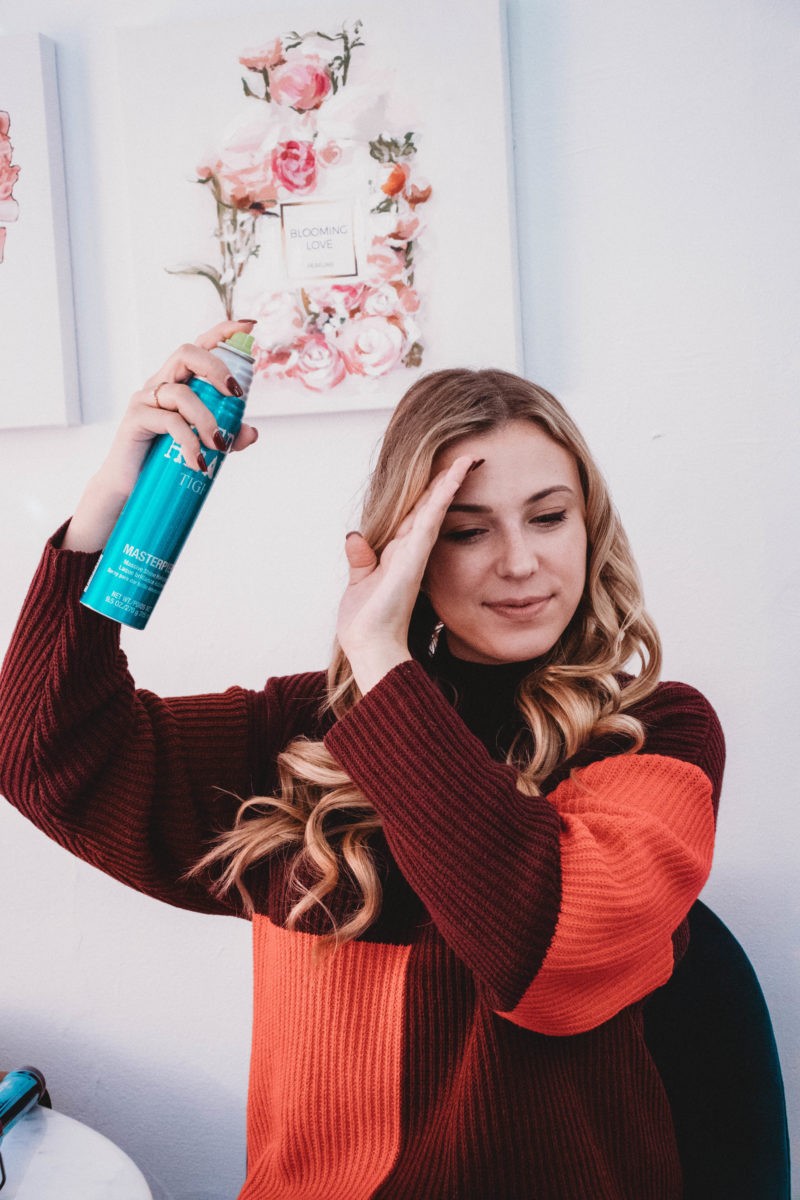
Finally, I ran my fingers through my hair to break up any tight spots caused by the hair spray and to give a more loose curl look.
Overall, I love how this fall look turned out! It took less than 20 minutes to create and lasted all day long.
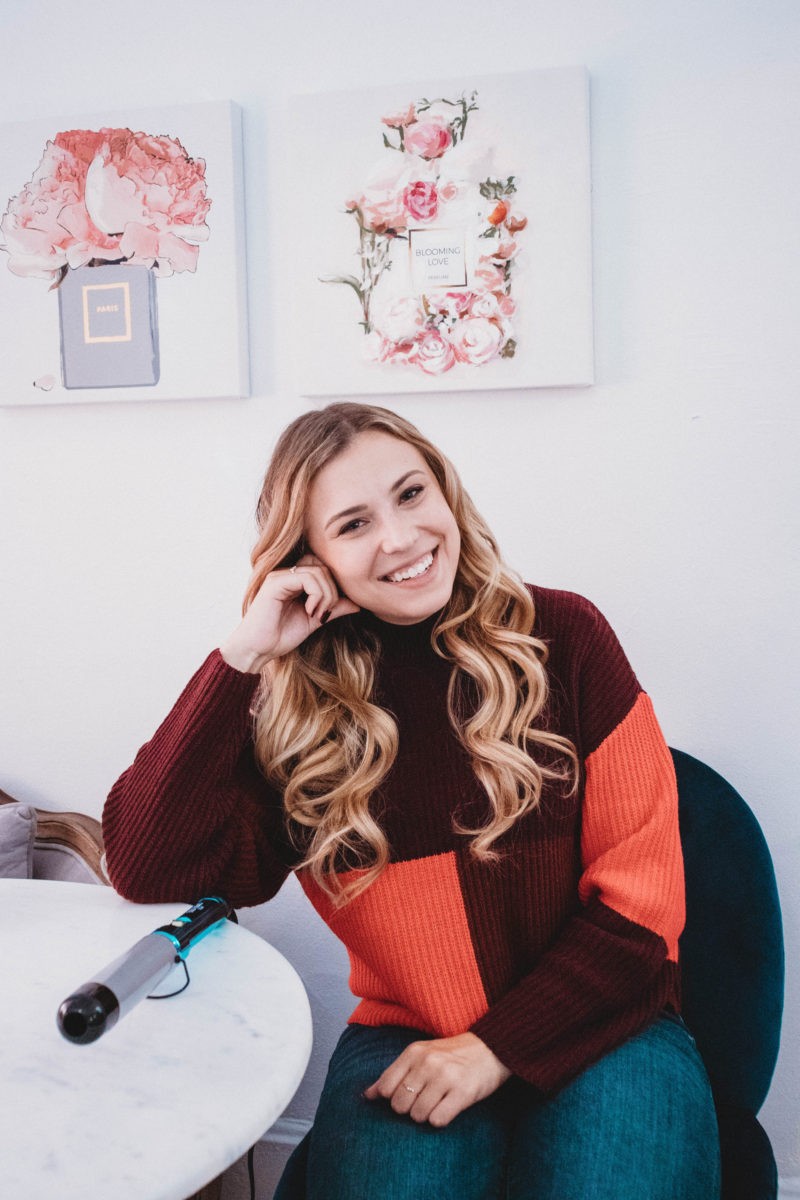
You can get the Bed Head Curlipops Jumbo Styling Iron in-store or online at Ulta Beauty!